Windows DFIR Part 1 - Creating Images
Summary
Windows digital forensics is a complicated topic that has the ability to bring new analysists down rabbit holes, so this two part series will only cover the basics. For our objective, we’re going to cover what a company can do to quickly setup their first DFIR workflow so that if/when they are ever compromised, they’ll be able to image a workstation and start the initial investigation. Additionally, if the event is catastrophic, they’ll be able to pass along the images to the forensic experts.
Resources
https://academy.tcm-sec.com/p/practical-windows-forensics
https://bluecapesecurity.com/build-your-forensic-workstation
Tools
https://www.exterro.com/digital-forensics-software/ftk-imager
https://arsenalrecon.com/downloads (Arsenal Image Mounter)
https://www.kroll.com/en/services/cyber-risk/incident-response-litigation-support/kroll-artifact-parser-extractor-kape
Forensic Process
Acquisition flow is memory first then disk image. Memory because it’s volatile so if the device is turned off, we’ll lose evidence.
Remember to contain the machine by network isolation or disconnecting the ethernet cable or turning off the WiFi adapter, not by shutting shutting the machine down.

Image Creation
Connect an external drive or prepare a shared drive to place the image onto.
With FTK Imager installed, we now have the options of creating the disk image and capturing memory.
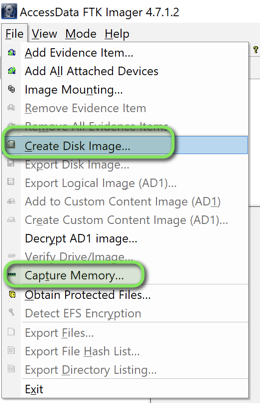
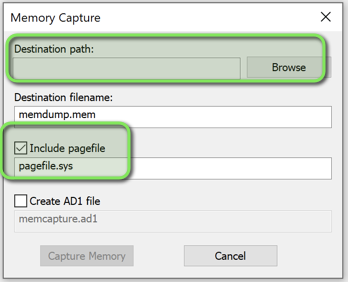
Let’s start with memory.
Choose a destination, external or share drive, and make sure to select ‘Include pagefile’.
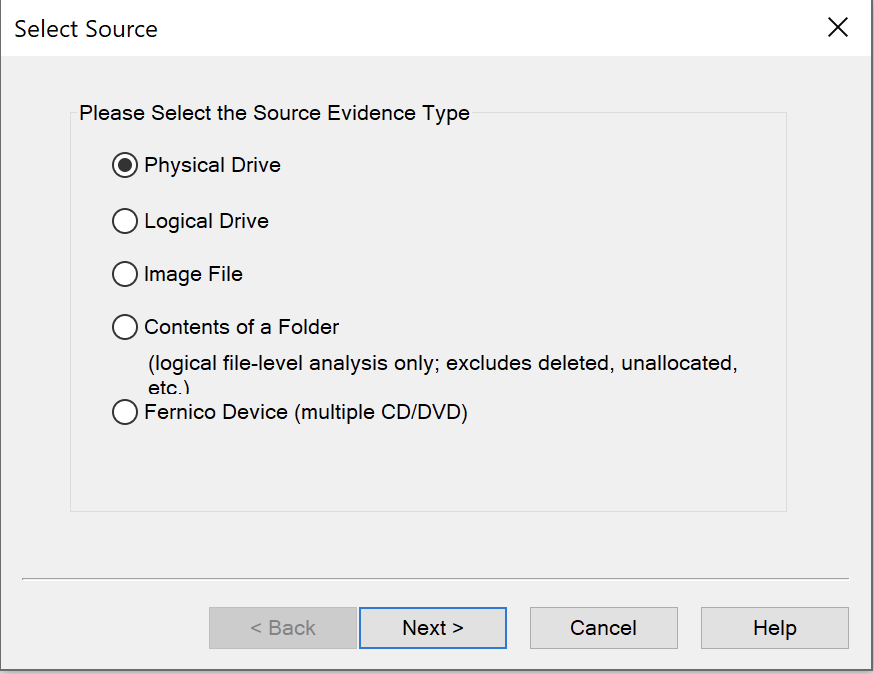
For disk image, I use the Physical Drive option to make sure to capture all files in case that files were deleted an potentially could be recovered.
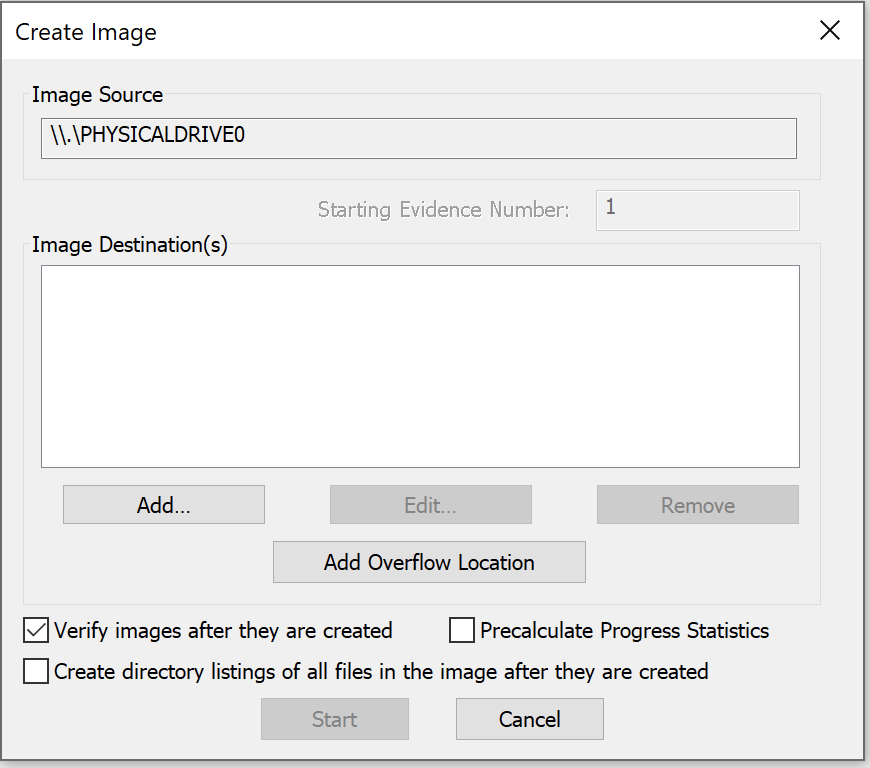
Choose a destination, then the Start button.
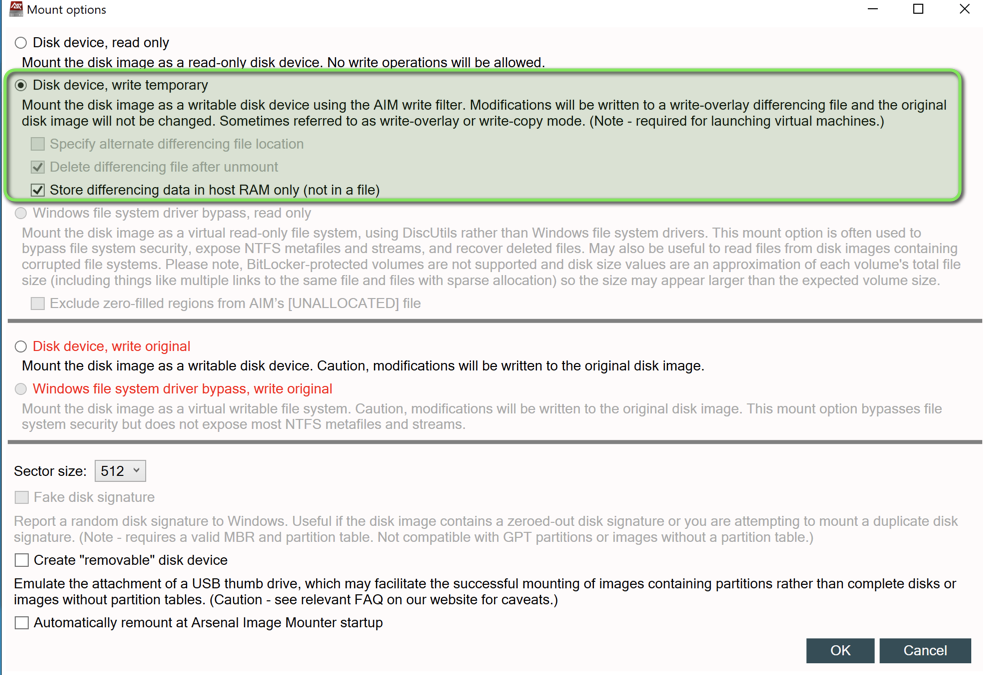
Now that we have the image, we’ll have to mount it using the Arsenal Image Mounter. We do this so that we can explore the contents and to also use tools like KAPE to create data collections.
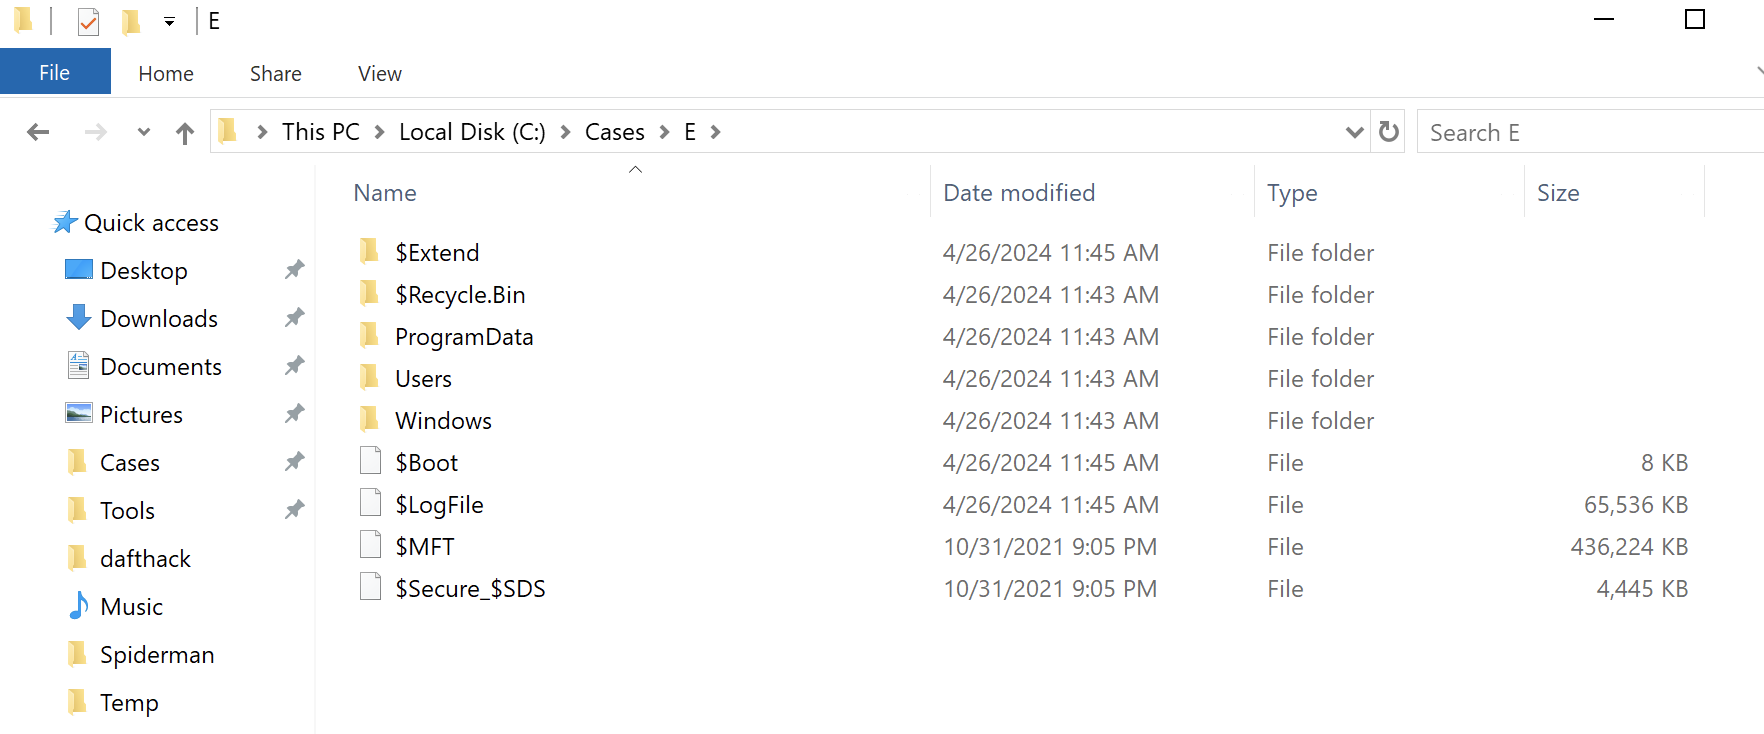
In this instance, the image was copied to a logical drive and will mount directly from that location.
Mounted window.
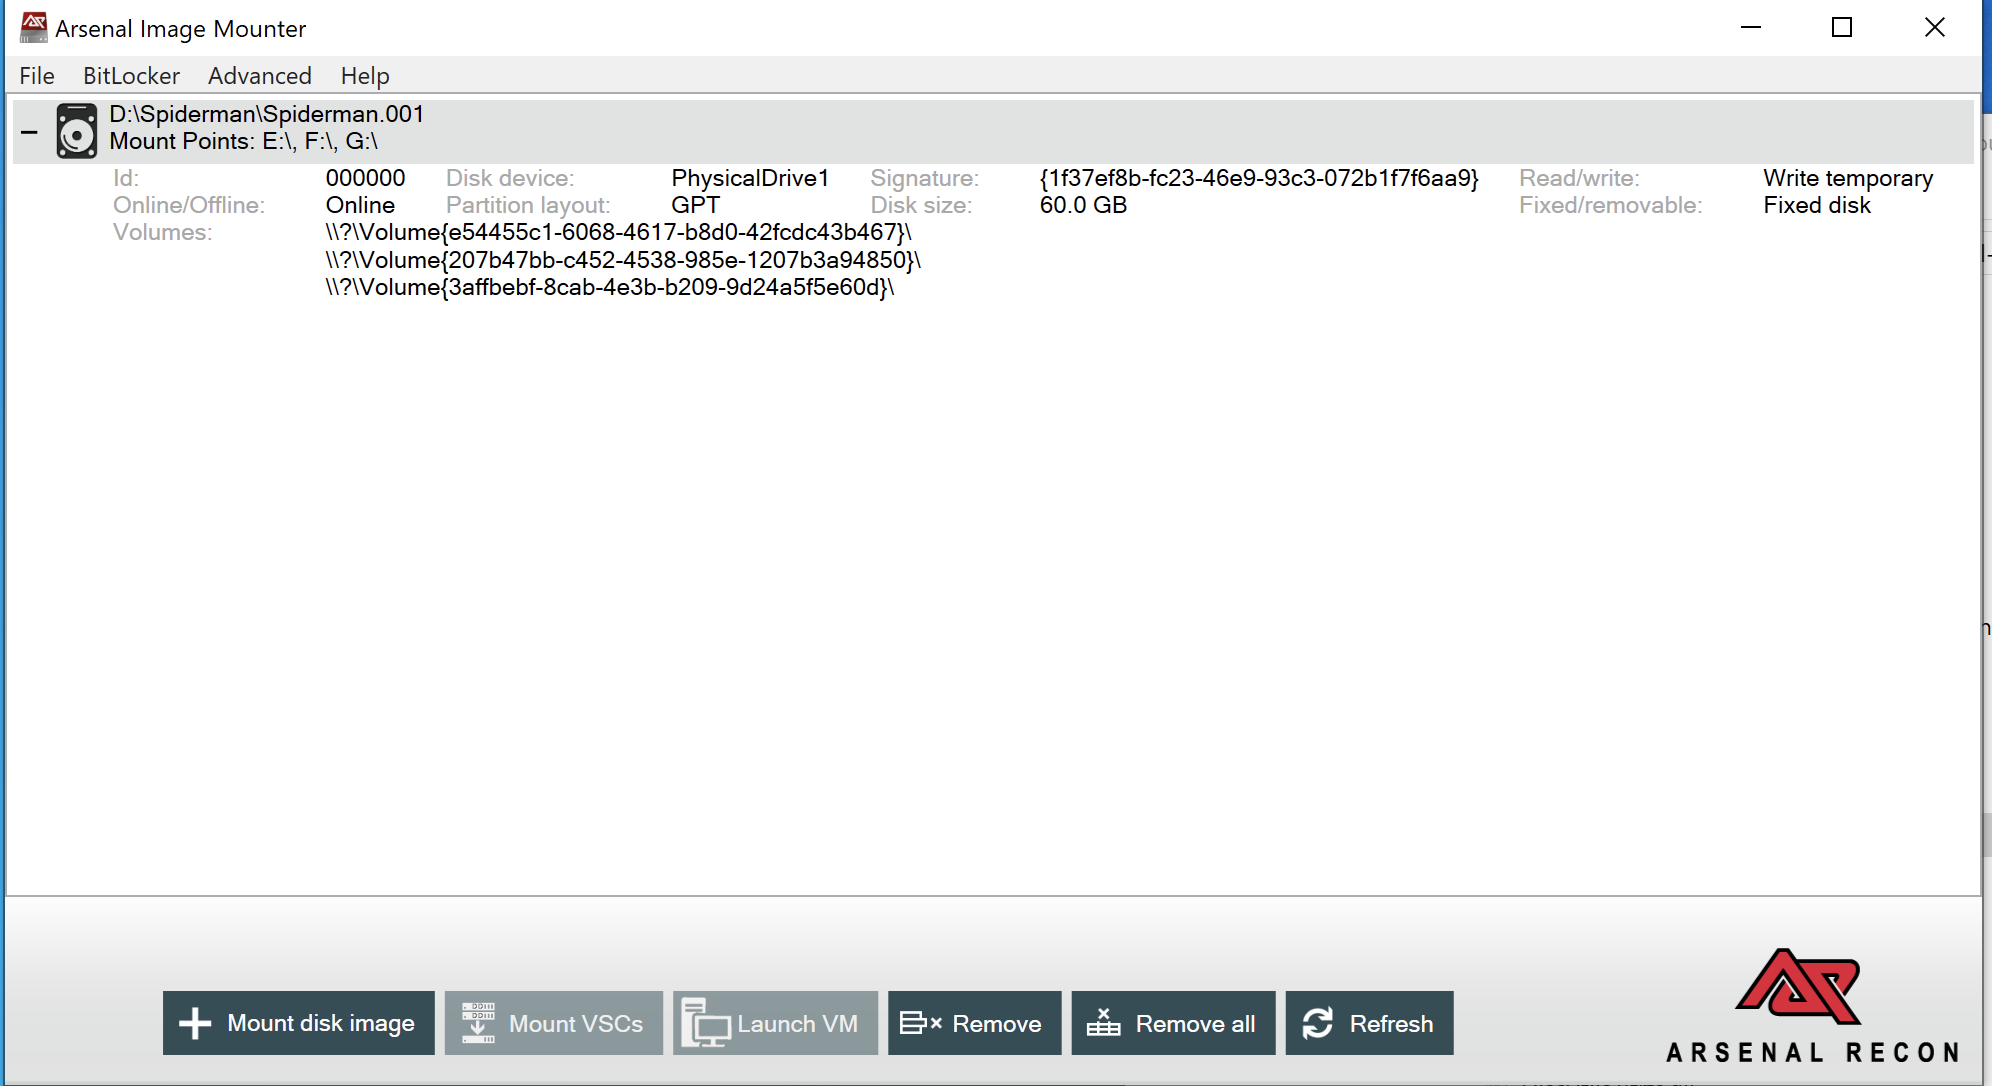
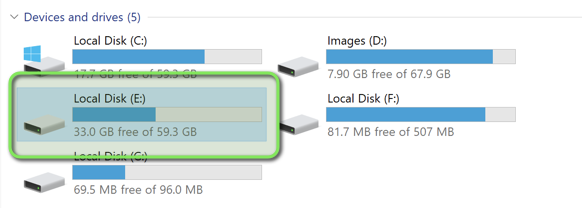
A new drive was created that we can use to navigate through.
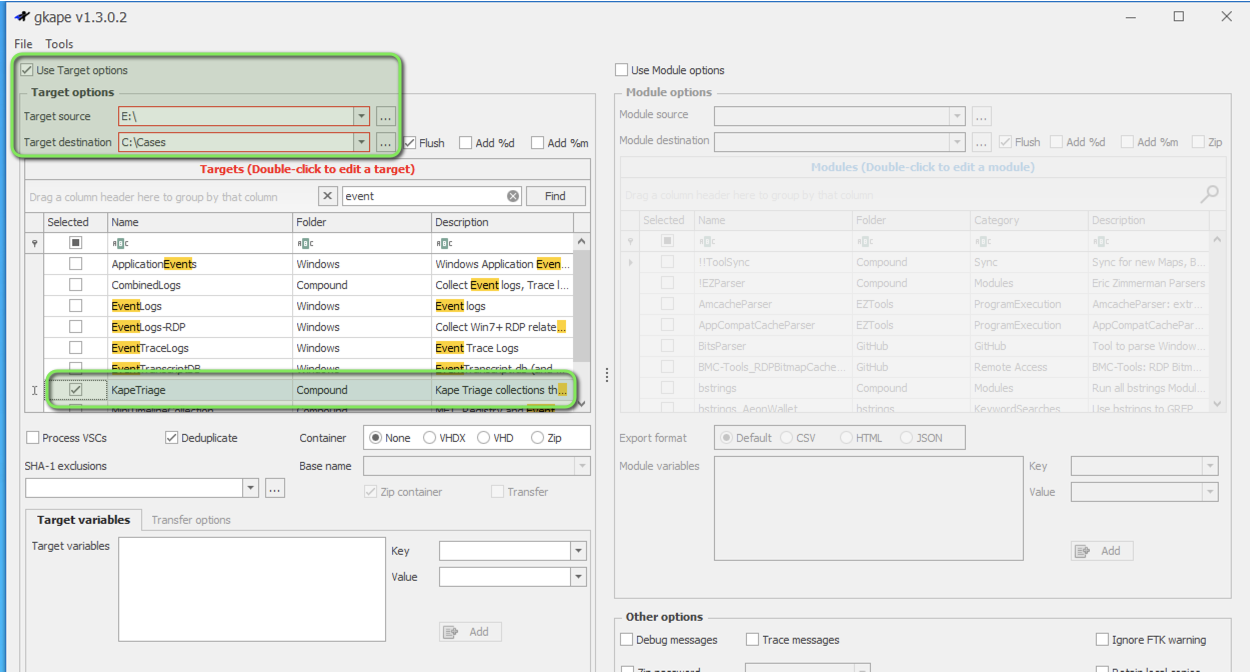
Using KAPE to create triage data collection.
Using the graphical KAPE option, we’ll select the mounted/target source and a destination for the collection.
Regarding what to collect, in the search, type ‘event’ which will present the ‘KAPETriage Compound’ option. This package contains event viewer and other logs. Hover over the option to view the list.
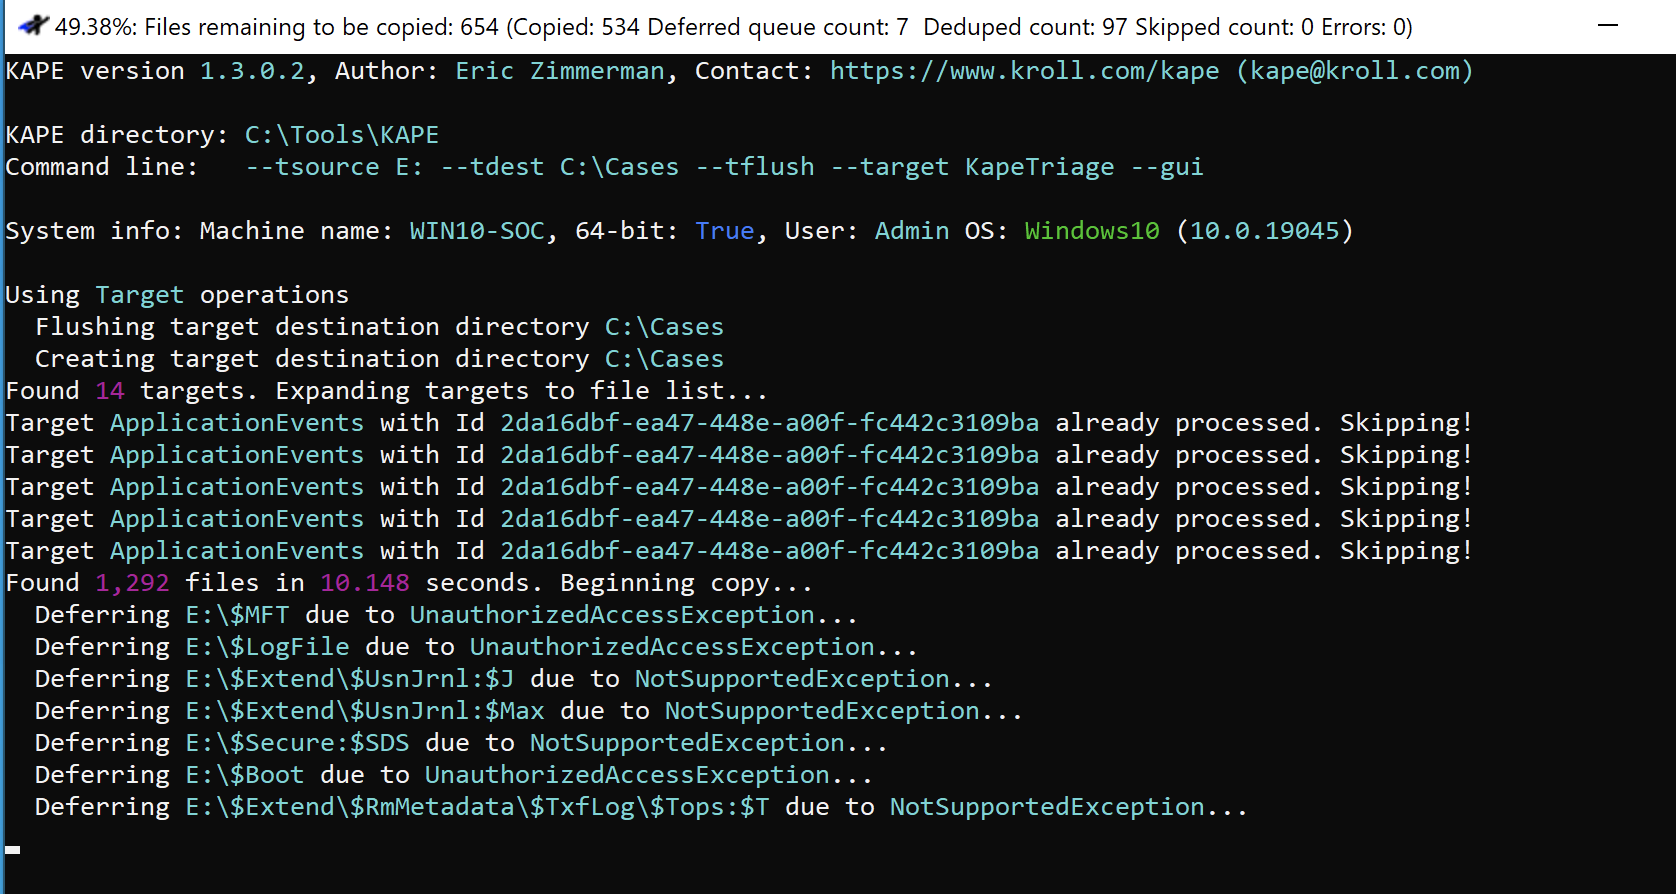
Running the command line version, we can use the below equivalent command.
.\kape.exe –tsource E: –tdest C:\Cases –tflush –target KapeTriage –gui
Select Execute and a command line window will open. Note that this may take some time to process.
Once the triage has completed, the below copied directory structure will be available for us to use for analysis.
At this point we have a working disk image and a memory capture to either analyze ourselves or pass along to a DFIR expert.
Conclusion
We were able to run through the basic steps of creating a disk image and memory capture using FTK imager. Although there are many tools out there to perform these actions, some that are much quicker, we chose FTK and KAPE since they’re industry standard tools. We then mounted the drive using the Arsenal Image Mounter, which allowed us to use KAPE to create a triage collection. The triage collection contained predefined filters that pulls widely used forensic information to save time, instead of manually applying filters. KAPE has modules available that could be used to automatically run tools, but we chose to not do that at this time, but worth exploring.
For part 2, we’ll dive into analyzing the evidence by using common DFIR tools.
I hope that you enjoyed this writeup. Until next time, take care.